
Hello, it’s a great day to start a project.
Discovering the perfect kitchen island for your needs is made easy with our comprehensive 4-step guide. From gathering inspiration to careful planning, we’ve got you covered!
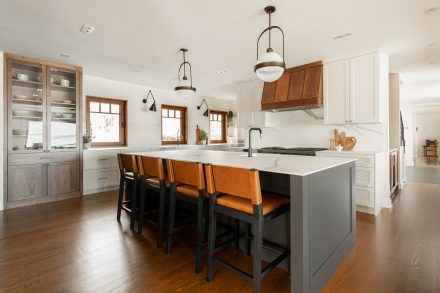
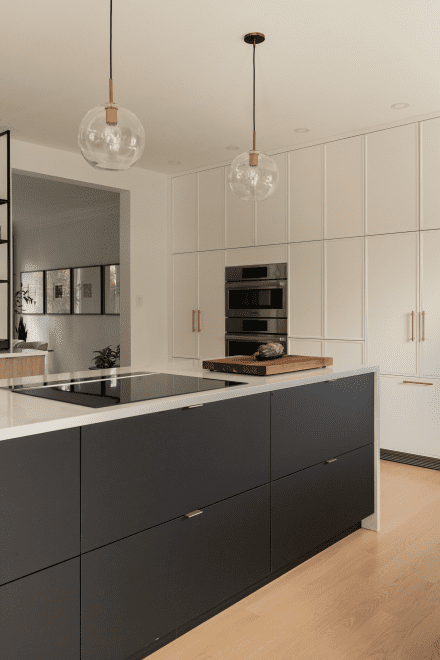
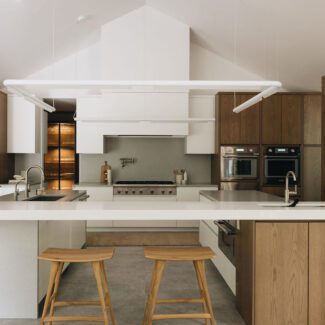
The kitchen island has long been an essential component of the modern kitchen, and its popularity continues to endure. In fact, most kitchens today proudly showcase a central island. With its seamless blend of functionality and visual appeal, the kitchen island effortlessly commands attention and becomes the focal point of the entire home.
When we talk to our customers about islands, we know exactly what questions to ask to create the perfect island for their everyday needs. Let’s dive into our practical guide, designed to assist you in creating your ideal kitchen island.
Here are the 4 steps to follow:
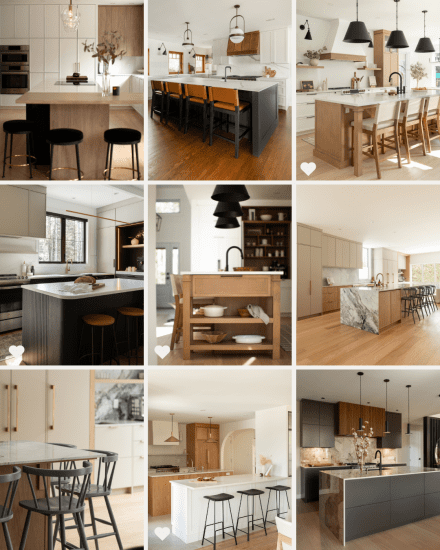
Finding the best ideas and style for your kitchen island starts with seeking inspiration. By following these steps, you’ll discover a wealth of possibilities that align with your vision.
Explore our Projects: Begin by browsing through our projects to find the styles that resonate with you. Our portfolio showcases a wide range of kitchen island designs, providing a great starting point for inspiration.
Magazine and Online Research: Delve into design magazines, visit online platforms, or explore blogs to gather inspiration. Houzz is a fantastic resource to discover captivating kitchen island ideas.
Create a Pinterest Board: Create a dedicated Pinterest board to curate and organize your favorite kitchen island images. Pin designs that catch your eye and capture your interest.
Trust Your Instincts: As you explore different images, identify the ones that immediately catch your eye. These instinctive selections often indicate your true style preferences. Trust your instincts and compile these images without questioning them.
“Usually, when we save inspirations, we tend to select the same styles. It’s our instinct taking over, and we must trust it!” Catherine De La Sablonnière, Artistic Director, Ateliers Jacob
Trust your instinct when saving inspirational images. Often, our subconscious preferences guide our choices. By collecting a variety of ideas without hesitation, you can identify commonalities and discover your true style preferences. For example, perhaps you’ve selected a few photos that are a little more unusual than your usual tastes, such as blue or wooden islands. Are there any unique or unconventional designs that intrigue you? Consider whether these ideas align with your long-term vision for your kitchen. If so, you’ve got your answer! Otherwise, focus on the ideas that truly stand the test of time.
Take note of the following aspects that stand out in your chosen inspirations:
Carefully considering your preferences and narrowing down your choices sets the stage for the next step!
Once you’ve defined your style, it’s time to delve into a thorough analysis of your practical needs.
Begin by asking yourself the following questions:
An essential aspect of this analysis is considering the variables that may impact your decisions, for example:
Rank these variables to thoroughly analyze your needs while remaining realistic.
The available space in your kitchen will not only influence the size of the island but also its shape. At this stage, you’ll have a better understanding of whether a central island, a peninsula island against a wall, or a removable island on castors is suitable for your space.
With the space and type of island determined, you can now focus on its primary purpose. Which area will be your main work zone? Consider these possibilities for a work area:
Do you need a work island only, or would you also like to incorporate a dining or bar area?
This island is specifically designed for dishwashing. It features a sink and dishwasher, along with convenient drawers for utensils and dishes. Furthermore, it provides a designated area for a central waste/recycling bin. Remember to allocate space for dishcloths, brushes and cleaning products!
Given the plumbing and electrical requirements, this island needs to be securely fixed to the floor.
This island is designed for culinary enthusiasts and features a cooktop or range with ventilation, such as a decorative hood or built-in downward ventilation on the countertop or range. Due to these requirements, the island needs to be securely fixed in place.
To enhance functionality, we recommend incorporating drawers for cooking utensils, pots and pans, and Pyrex dishes. If the stove is integrated into the island, you’ll want to allocate storage space for baking trays, muffin pans, and cake pans for easy access.
Consider including storage space for cooking oils, herbs, and spices nearby, ensuring these items are always within reach while preparing meals.
Food preparation areas can be easily integrated into any type of island, provided the necessary space is available. These dedicated work areas enhance the kitchen’s functionality and offer incomparable ergonomics and accessibility. If the main sink is not located on the island, you can even consider integrating a utility sink, allowing seamless transfer of vegetables from the sink to the work area without wetting the floor!
Consider the essential tools and utensils you need for food preparation, such as knives, preparation utensils, cutting boards, and other frequently used items.when preparing food or lunches. Having a dedicated trash/recycling bin comes in handy here! Furthermore, allocate storage space for oils, herbs, and spices. Large drawers are perfect for storing mixing bowls and food containers.
If you don’t plan to integrate a sink into this island, you have the option to put it on castors, or make it removable or movable. In this case, it should be small and lightweight for easily mobility.

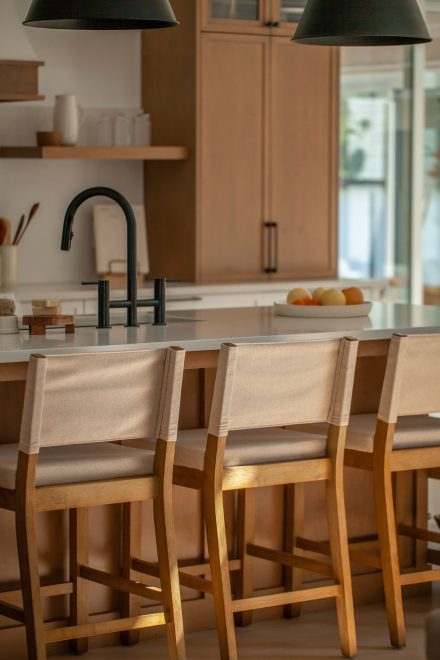
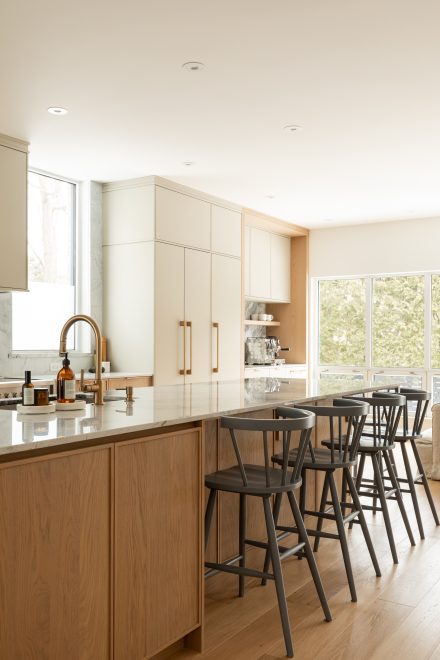
Similar to the previous options, the gathering island complements various kitchen configurations. You might decide to add a dining area, complete with stools for a cozy atmosphere. Depending on your preferences, you can create a section of the island with lowered height to enhance ergonomics and comfort. Here are a few ways to achieve this:
But be warned, this can lead to endless dinner parties and late-night guests!
Other elements and their location to consider when analyzing your needs for the island:
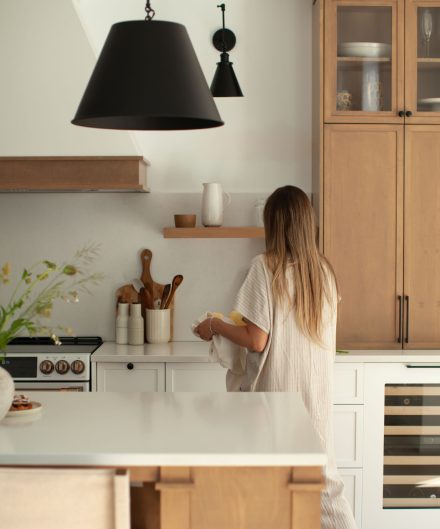
The moment you’ve been waiting for arrives when you meet your designer at the showroom. It’s an exciting experience where you can align your choices with the inspirations you gathered in step 1. This is your chance to see and feel the different materials, and you’re bound to be captivated!
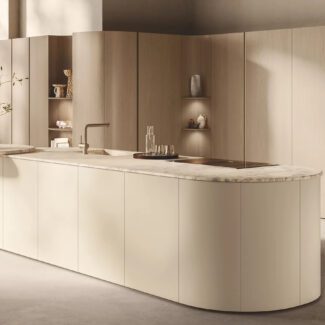
Your designer will be an invaluable resource, helping you find materials that align with your needs and preferences. Their expertise in understanding the unique properties of each material will be instrumental in creating an island that not only looks stunning but also enhances the functionality of your kitchen, making your daily tasks a breeze. When it comes to materials and styles, the options are limitless! Here are the favorites among our esteemed customers:
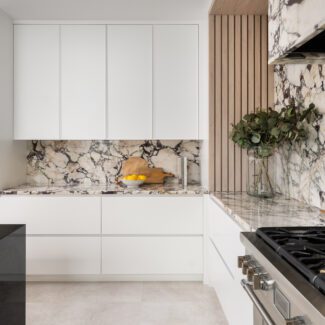
The choice of countertops is the most important element for your kitchen island as it will see a lot of use. It’s essential to consider the maintenance involved. If you’re considering a wood countertop, keep in mind that it requires a lot of maintenance before making your final choice. If uncertain, your designer can recommend quartz as a low-maintenance alternative. Your designer is an incredible source of information, so don’t hesitate to seek their guidance when in doubt!

By now, you’re well into your kitchen island project. You and your designer have likely invested many hours into it, and now is the time to focus on the finer details for perfection.
The design of your island is intimately linked to the design of your kitchen. Its aesthetics are just as important as its functionality, because the ergonomics of your kitchen depend on it! The dimensions and placement of your island will be designed to make it easier for you to get around, and the activity zones in the kitchen will be designed to use your kitchen wisely.
Your designer can show you a 3D plan of your island, so you can visualize every detail, including all elevations. There’s still time to make a few final modifications at this stage and ensure you create the ideal kitchen island you’ve been dreaming of.
How much does a kitchen island cost?
That’s up to you! The cost of a kitchen island can vary depending on your preferences and budget. Your designer will take into consideration your budget when designing the island and kitchen. Different choices, such as materials and accessories, will influence the project’s cost.
For instance, a small standard island on castors can be purchased for as little as $400 at big-box stores. However, if you desire a custom-made island with high-quality materials and specific dimensions, the price will vary. It’s essential to establish a comfortable price range and communicate this to your designer, who will assist you in making choices that align with your budget.
We hope that these tips will assist you in bringing your vision of the perfect kitchen island to life. A thoughtfully planned island that aligns with your needs and preferences can make you happy and inspire you to enjoy cooking every day.


